Follow these steps to enable 1-click integration of quickytools Characters in Unity.
Start
- Install Unity.
- Open an existing Unity project or create a new Unity project.
- Fix all errors in the Console tab.
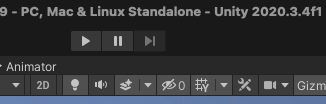
- Exit play mode if currently playing. The shortcut for entering and exiting play mode is Cmd+P or Ctrl+P.
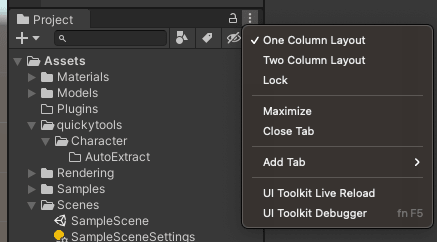
- Change Project tab display to One Column Layout (to match this guide). This will show files and folders in the project tab rather than only folders.
Install quickytools Character Unity plugin
There are two methods to install the plugin in Unity. with a .unitypackage file or (requires git be installed on your machine).
Import plugin
Uninstall/delete any previous version of the quickytools character setup plugin or package in Unity.
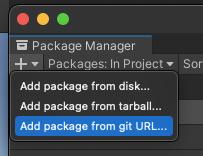
In Unity open Package Manager.

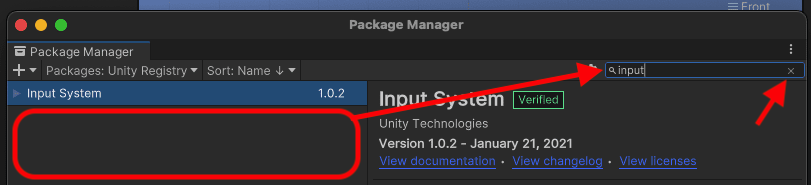
Install the Input System package under
Packages: Unity Registry. Use the search bar to filter packages by name. The version and information may be different from what is shown in the the screenshot.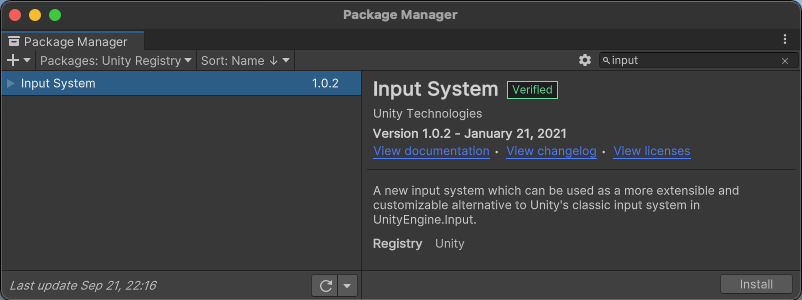
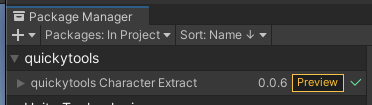
Download the latest quickytools-character-setup-X.Y.Z.unitypackage.
Import the package into Unity with
Assets > Import Package > Custom Package...selecting the downloaded.unitypackagewhen prompted.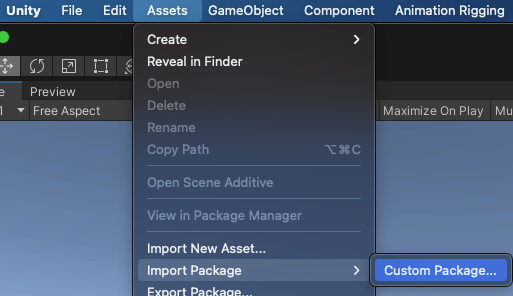
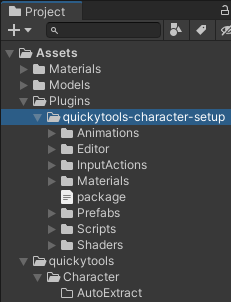
The installed plugin files should be structured as follows. Avoid making changes to these files unless you need custom behavior.
Fix/resolve errors and changes
If errors are listed in the Console tab fix them or Unity won't work correctly moving forward. Warnings can be ignored as they won't get in the way.
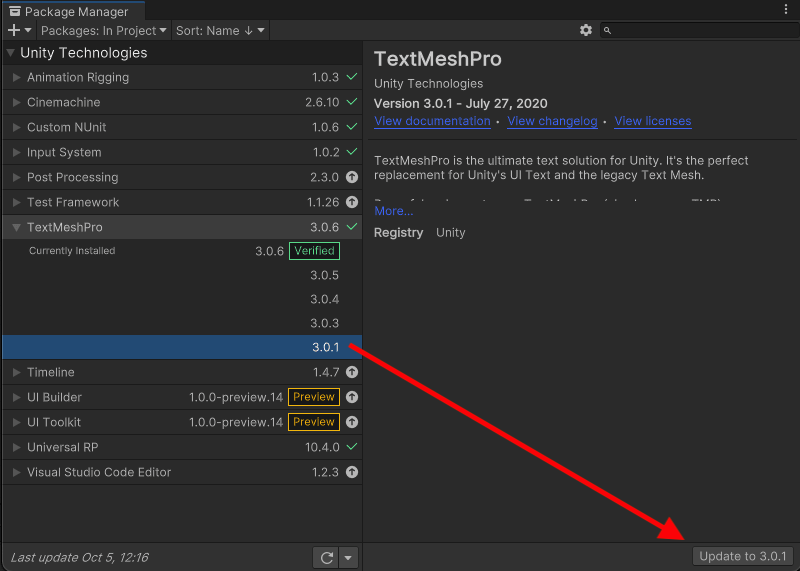
- If you created a new Unity project packages can be removed or downgraded without issue. Cinemachine and TextMeshPro are not needed by the quickytools Character plugin. Downgrade by expanding a package, pressing
See other versions, selecting a version, and pressingUpdate to X.Y.Z.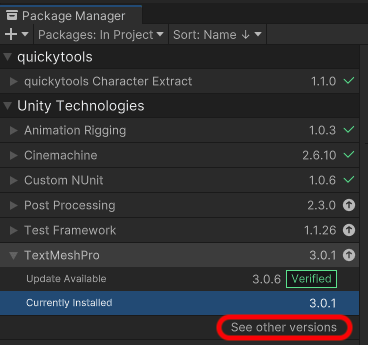
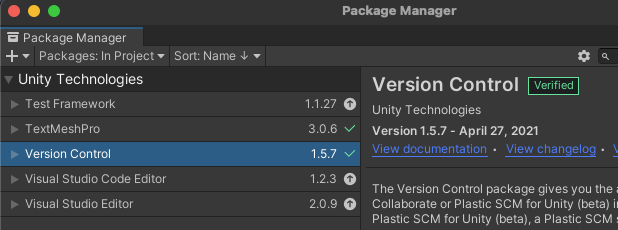
- Errors about "collab.proxy" or similar are likely due to the Version Control package. Remove this package if you don't use it.
- Be sure to clear the package manager search bar if packages are not being listed.
The quickytools Character setup plugin depends on the new Unity input system so you need to accept and install it if your project doesn't use it. This WILL make changes to your project. 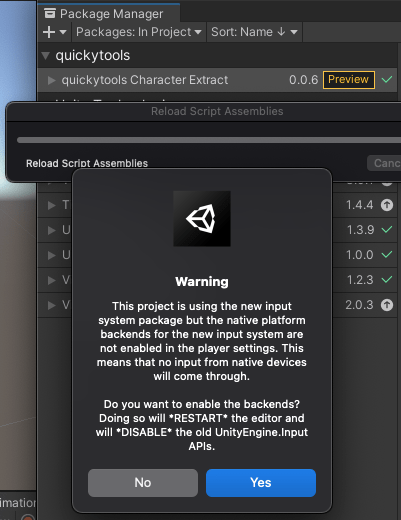
Setup auto extract folder
- Create an Asset folder
quickytools/Character/AutoExtract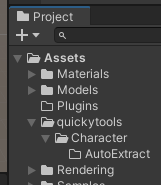
- Create character on quickytools and download the character model or use this default character model.
- Drag the downloaded quickytools Character model file into the AutoExtract folder to perform auto extraction. Character models outside the AutoExtract folder can use the
Tools > quickytools > Character > Extract characteroption.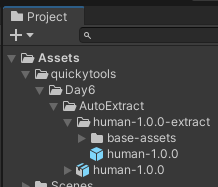
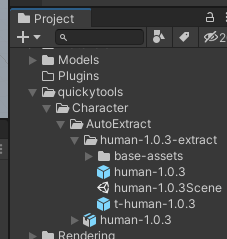
- A Unity prefab of the character is created with the same name as the downloaded character model. Files in
base-assetssupports the character prefab so modify these files only if you understand how it affects the generated prefab.
Generate demo scene
- Select the downloaded Character model file in the Project tab in Unity and select
Tools > quickytools > Character > Generate character scene.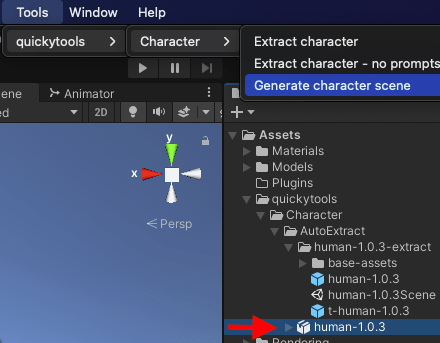
- A new scene should be created.
- Open the generated scene (if not loaded automatically). Press play (Cmd+P or Ctrl+P).
- Move the character with
WASDkeys on the keyboard. - Press spacebar to jump.
- The
-+keys changes the speed of movement as well as the movement animation.